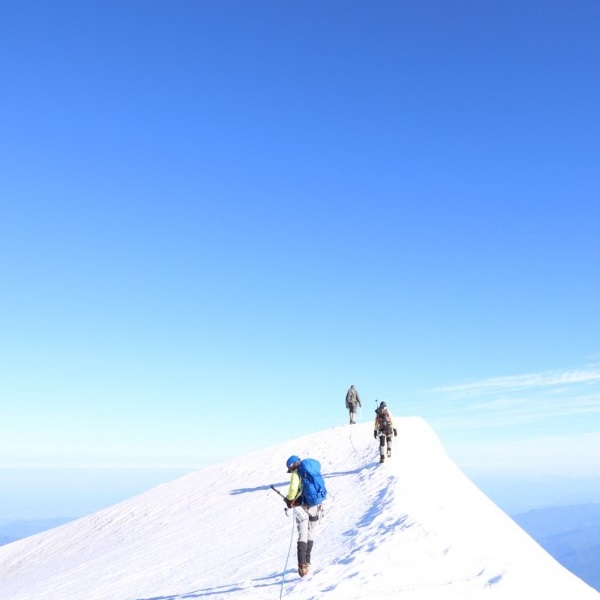
In a previous review of my Zamberlan Expert IBEX alpine boots, I mentioned that one of the potential weaknesses of this boot was the stitching in the back of the heel. After one year of alpine climbing, the motion of heel plunging into the snow has worn on this particular area as I expected.
I’ve had previous boots that have gotten so worn that the back strap part of the boot actually de-stitched and is starting to flap off. I’ll talk more about that in a future post though.
Two products, one on each boot
I don’t want this fate to befall my nice alpine boots, so my plan is to proactively strengthen this area. I have used Shoe Goo and Barge contact cement in the past with limited to low success, because it always peels off and fails to adhere especially in wet environments.
This time I will be trying two products I have never used before and testing them head to head.
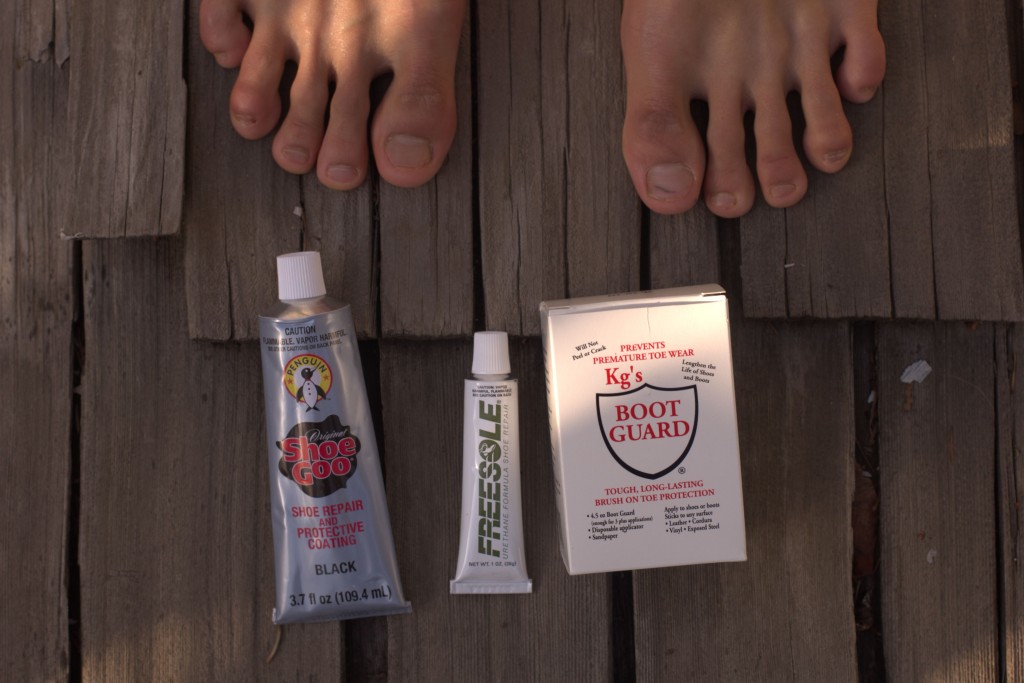
On one boot I’ll apply Freesole (middle) by GearAid, which is a similar product in its appearance to Shoe Goo (left), but it is supposedly much improved. Shoe Goo is shown but was not used because of prior failures.
On the other boot I”ll apply Kg’s Boot Guard (right) which I recently saw in a Ranch and Home store. I have never heard of it before this week, but there was a demo shoe with this product applied. The product seemed flexible and strongly adhered to the leather. The product was oddly lumpy which I learned later are Kevlar chunks that help provide extra strength.
Prepping
Before applying, I prep the area with rubbing alcohol and throughly scrub the heels with a brush to help clean the waterproofing and dirt off the leather for a good bond. Once dry, I set the boundaries with tape to keep the job clean.
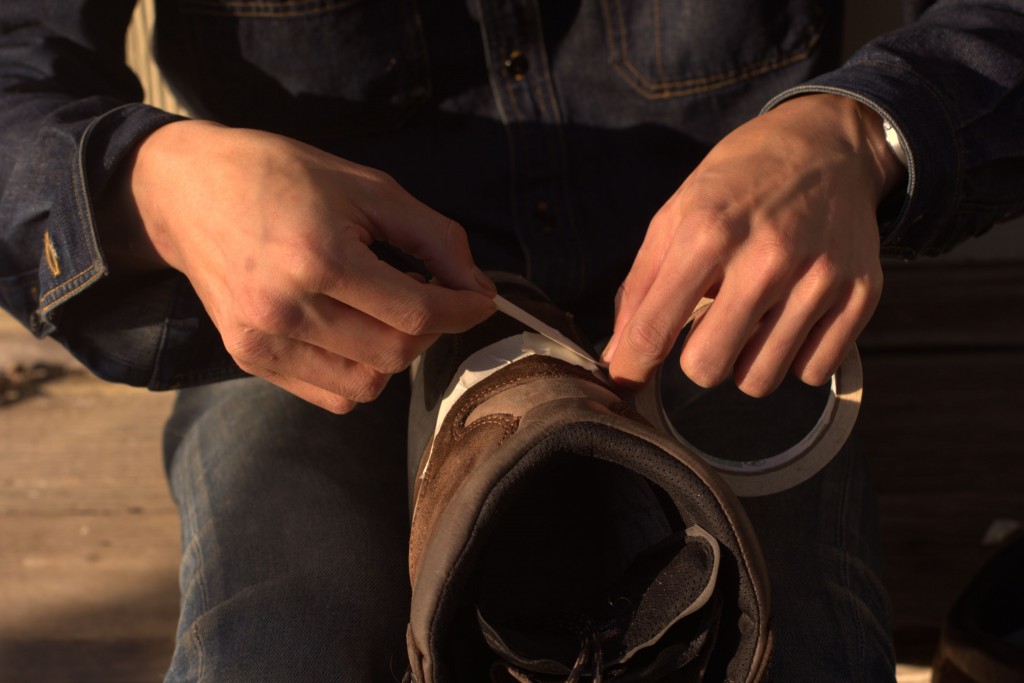
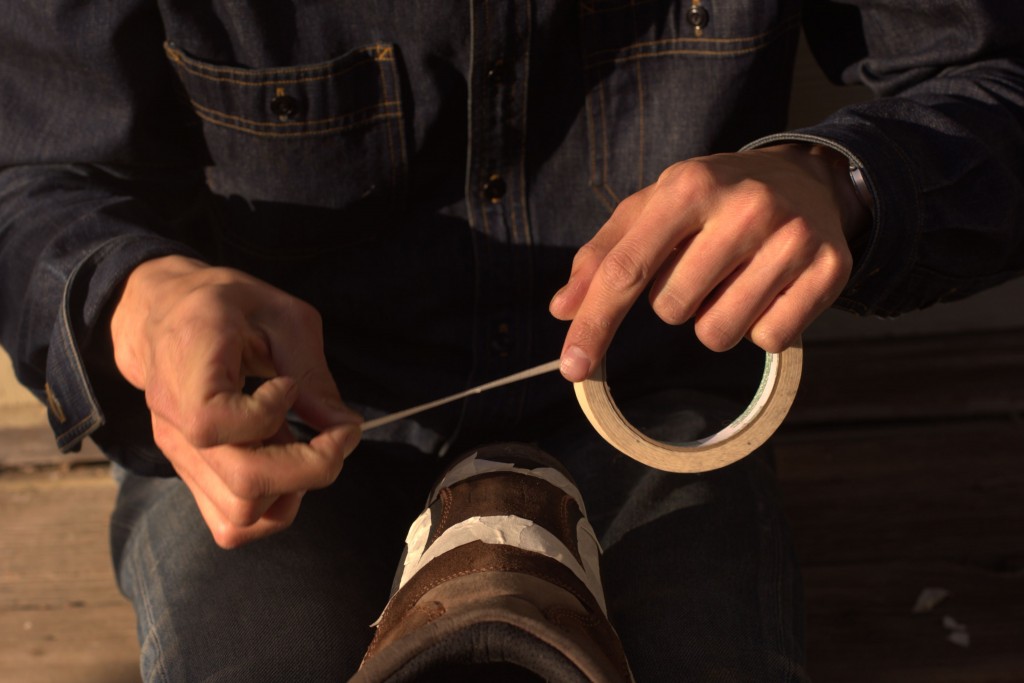
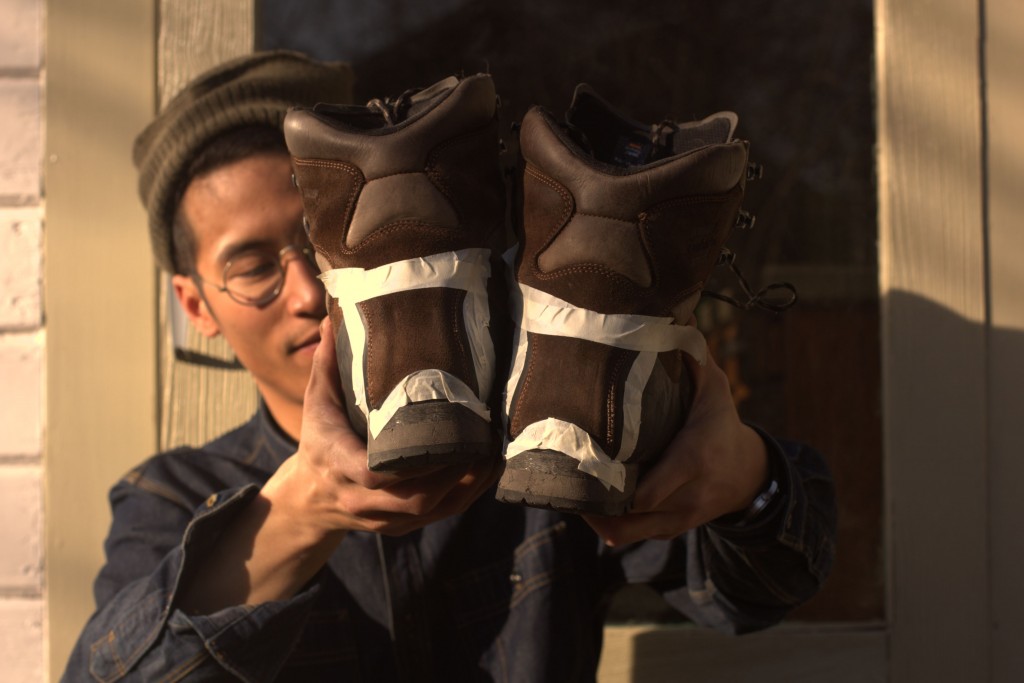
Applying Kg’s Bootguard
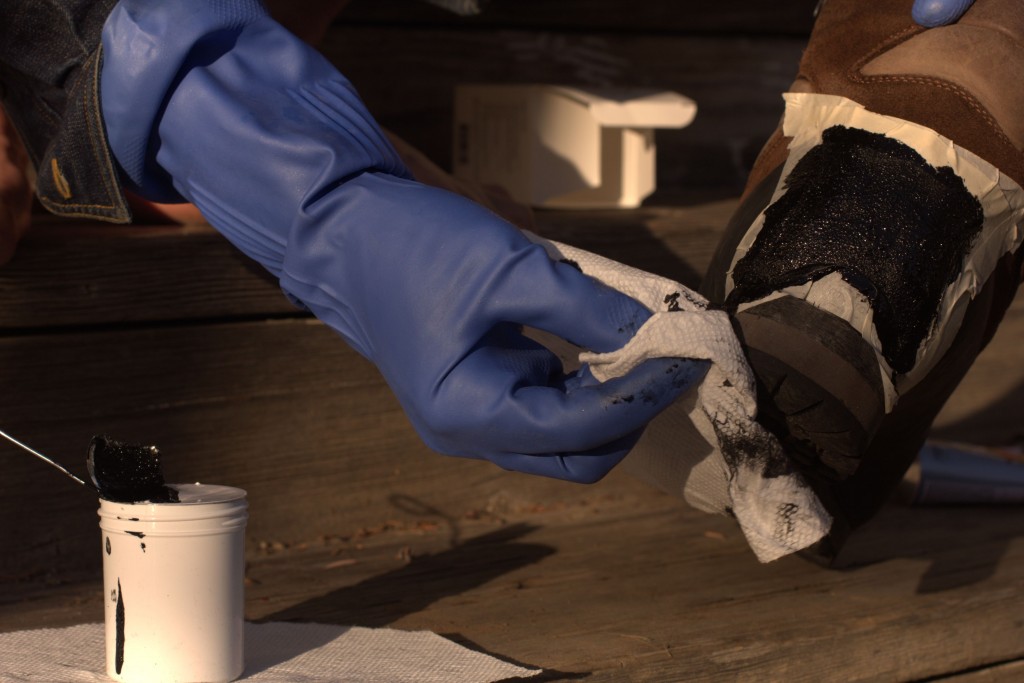
Kg’s boot guard comes in a little jar, and mentions it has Kevlar chunks in it. It smells strongly of solvents like a new can of spray paint. It came with a piece of sand paper to roughen the surfaces and a dauber to help apply. The product must be stirred for a minute before painting on.
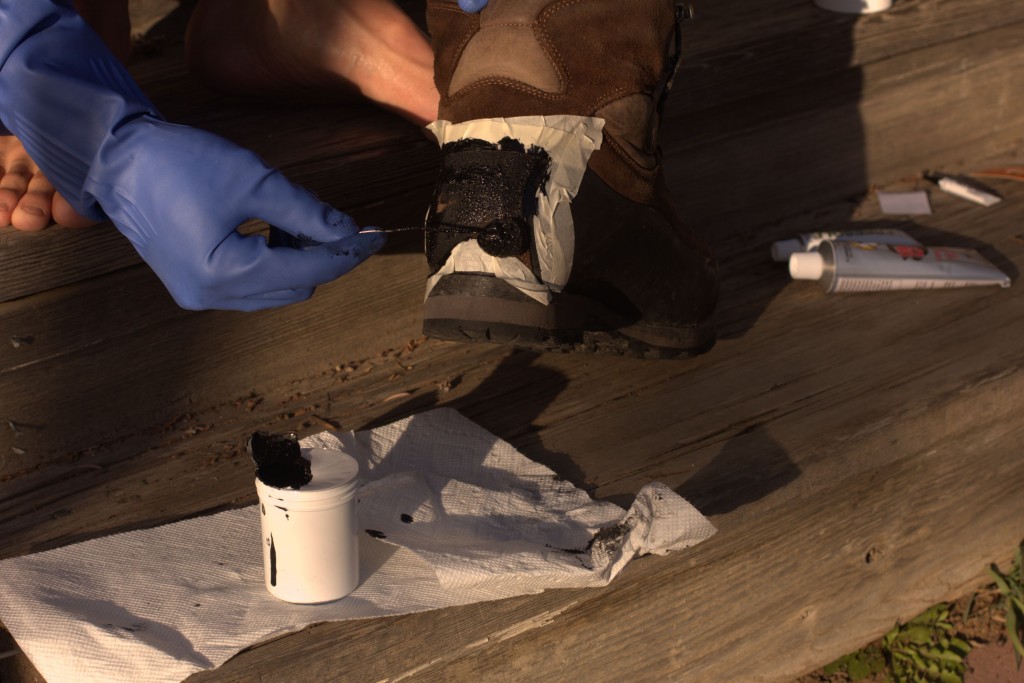
Kg’s product is RUNNY, with a consistency more like a liquid than a gel. I painted on too much and it ran into other parts and left a dark stain. Be extra CAREFUL when painting on this product!
Applying Freesole
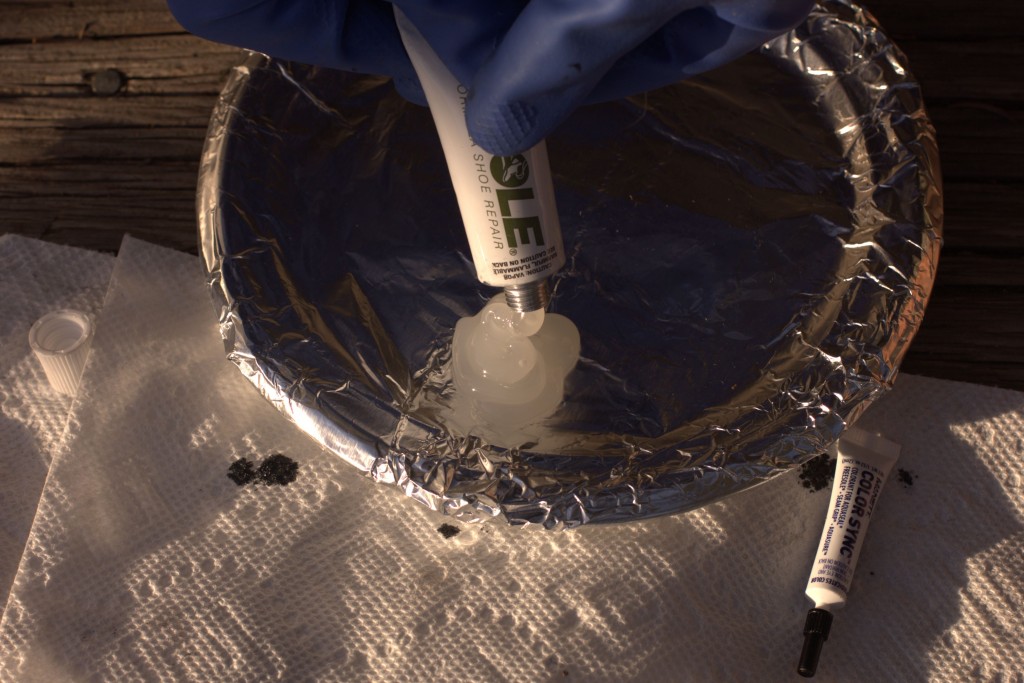
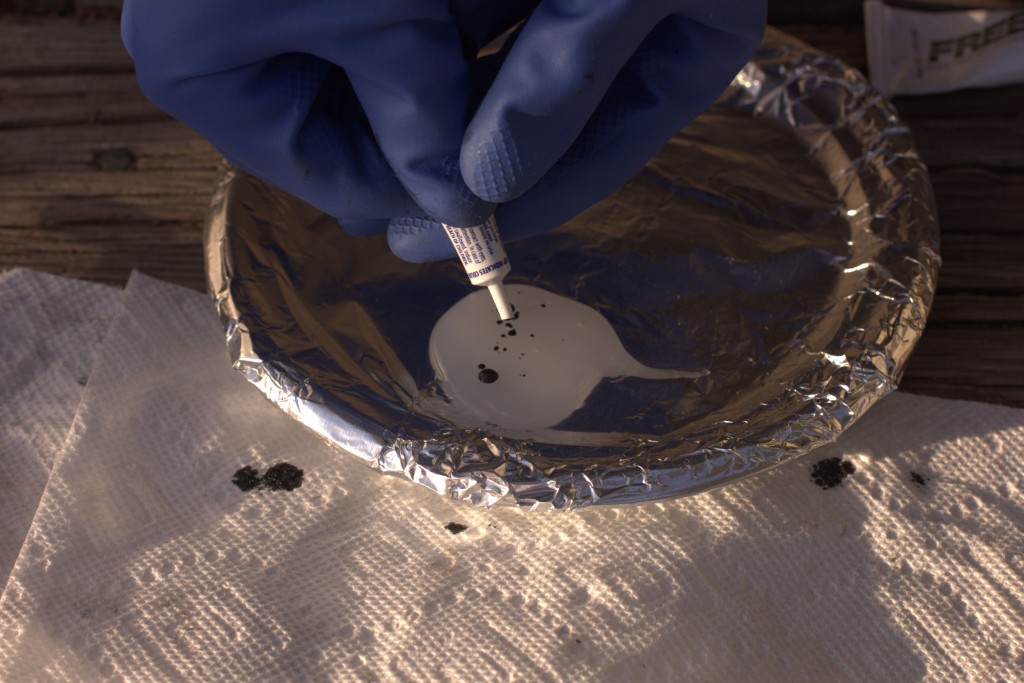
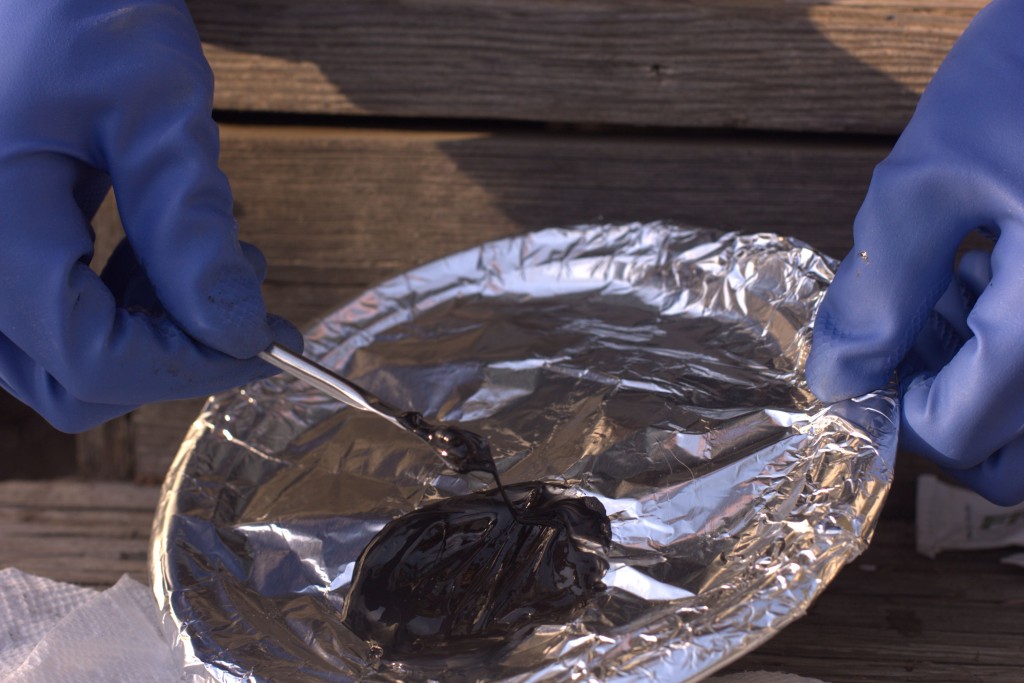
The Freesole is very pasty and gummy like Shoegoo. I added 8-10 drops of colorant in the separate tube and mixed them together to get it to turn black. Next I painted the area of my boot with the little paint brush that came with the product.
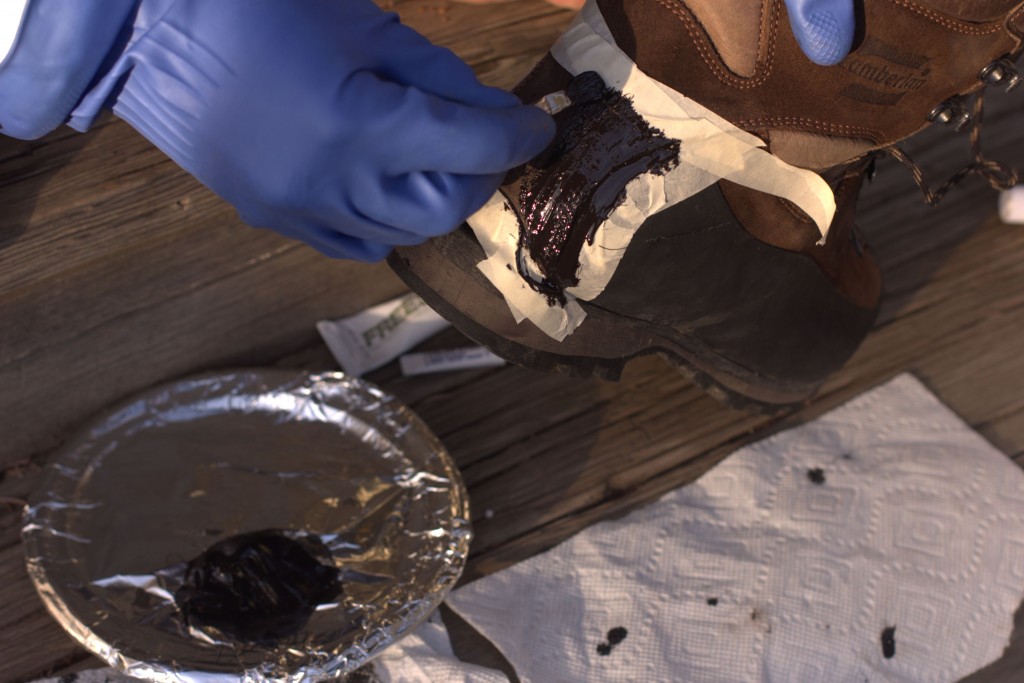
After 2 hours, I pulled the tape off and was pleased to find a clean, stenciled outline of the product.
Next, I left both boots to cure over night.
Results
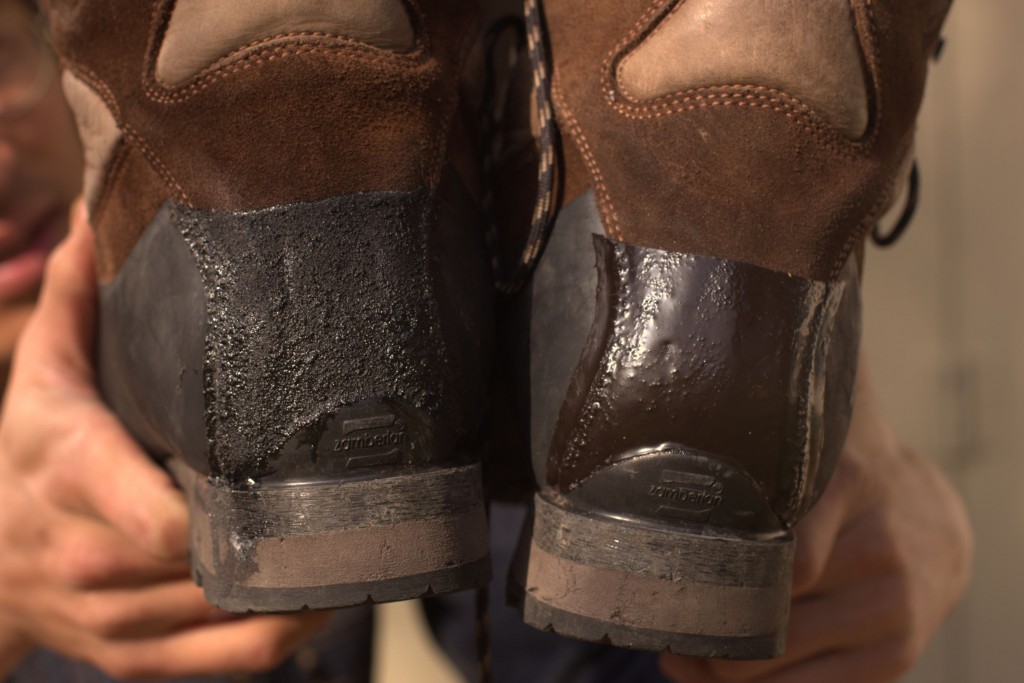
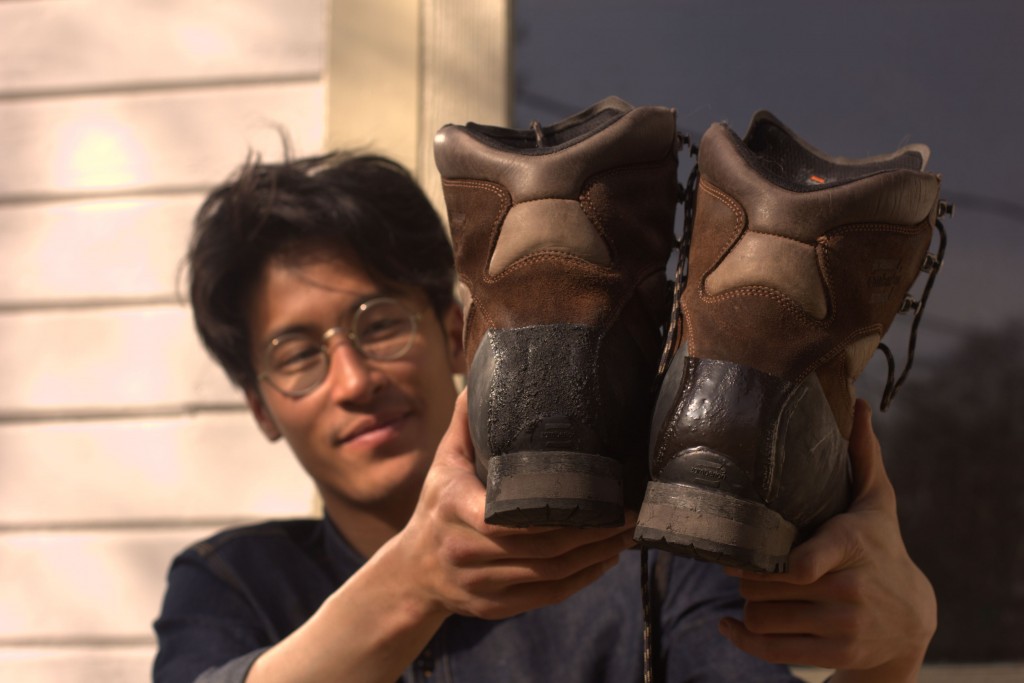
Kg’s Boot Guard (left), Freesole (Right)
Let’s see how these two products hold up to rigorous alpine climbing this spring and summer. I’ll keep you updated.


