

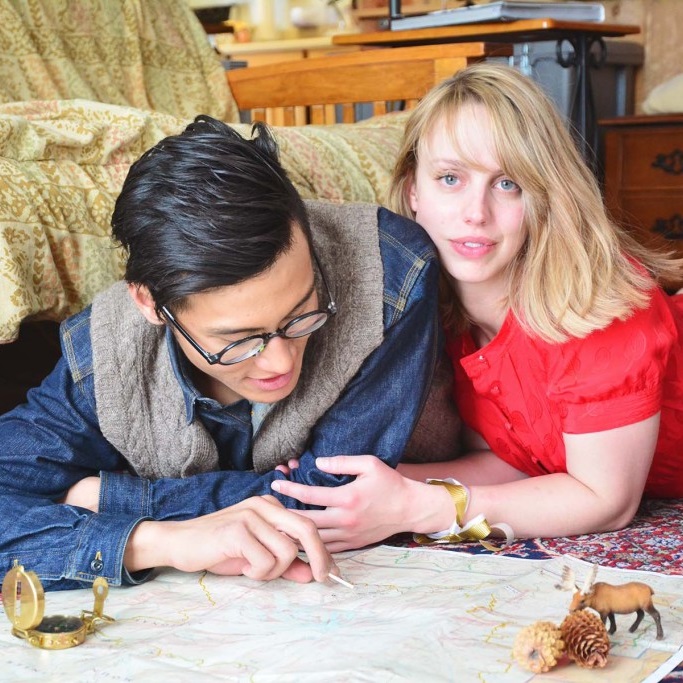
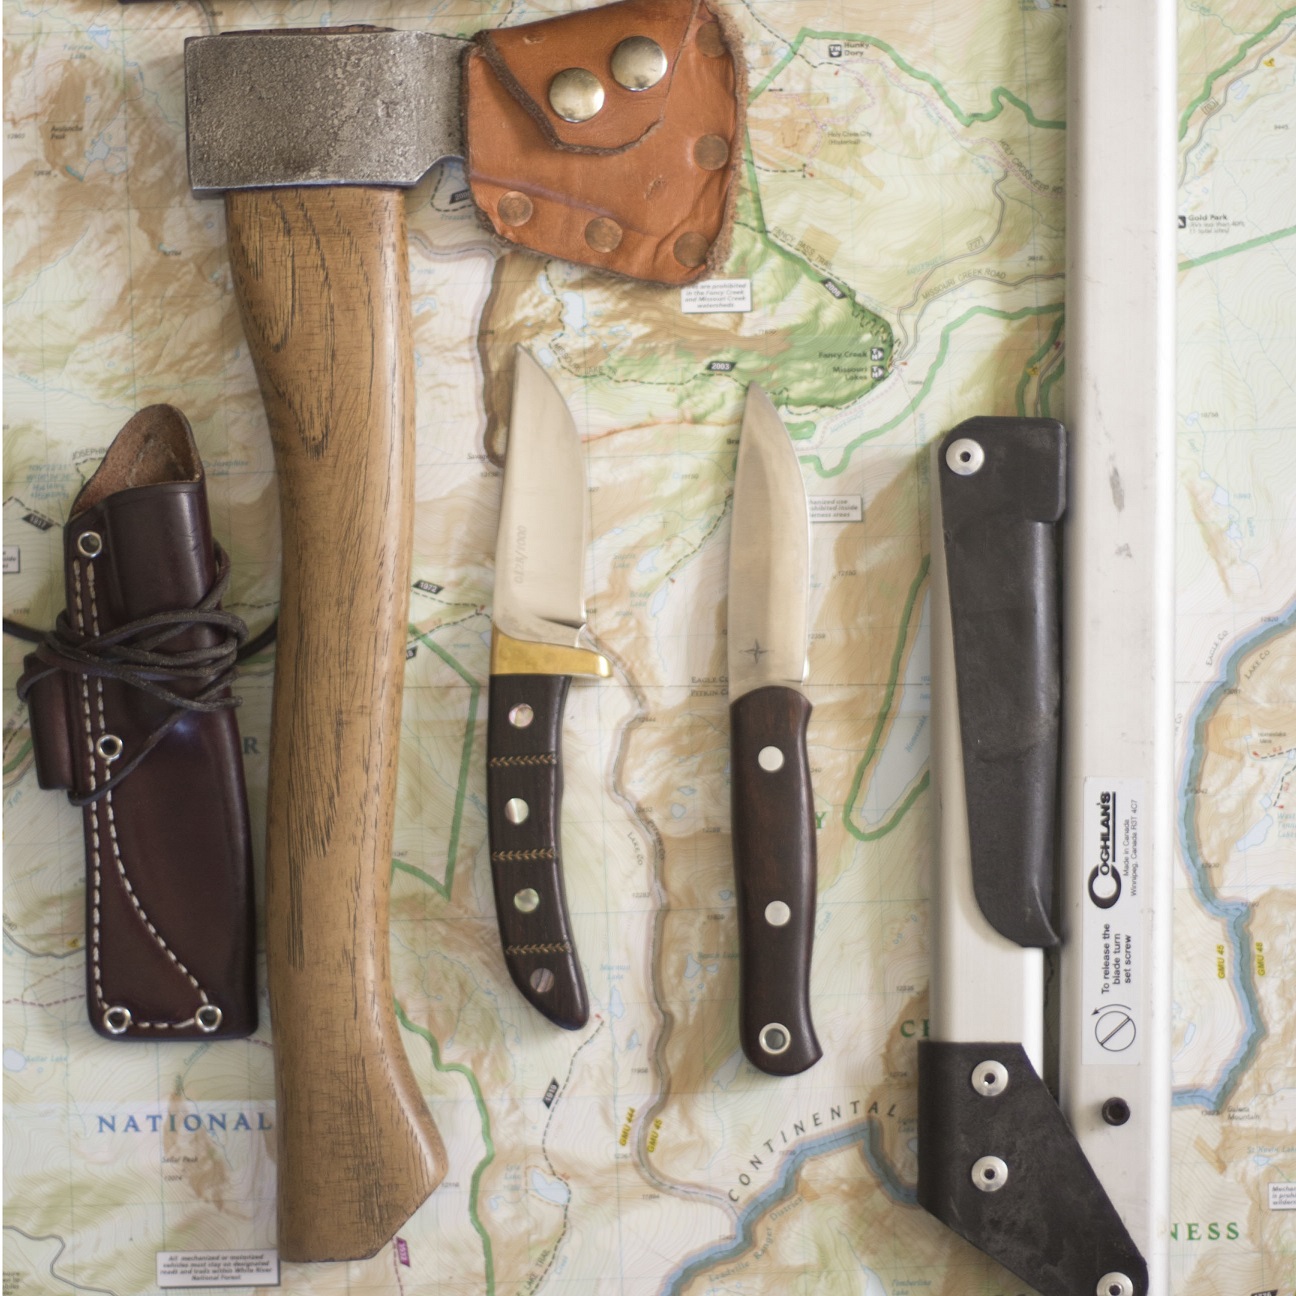
When I travel in the tropics and expect to do a lot of rural and wilderness camping with a lot of off trail exploration, a machete type tool in addition to a smaller knife is my go-to loadout. Small knives excel at agile fine tasks while bigger heavier tools excel at chopping and heavier work.
Theory
For Naked and Afraid I was restricted to just one tool. My tool of choice would have to be able to do the work of both. I chose the Woodman’s Pal.
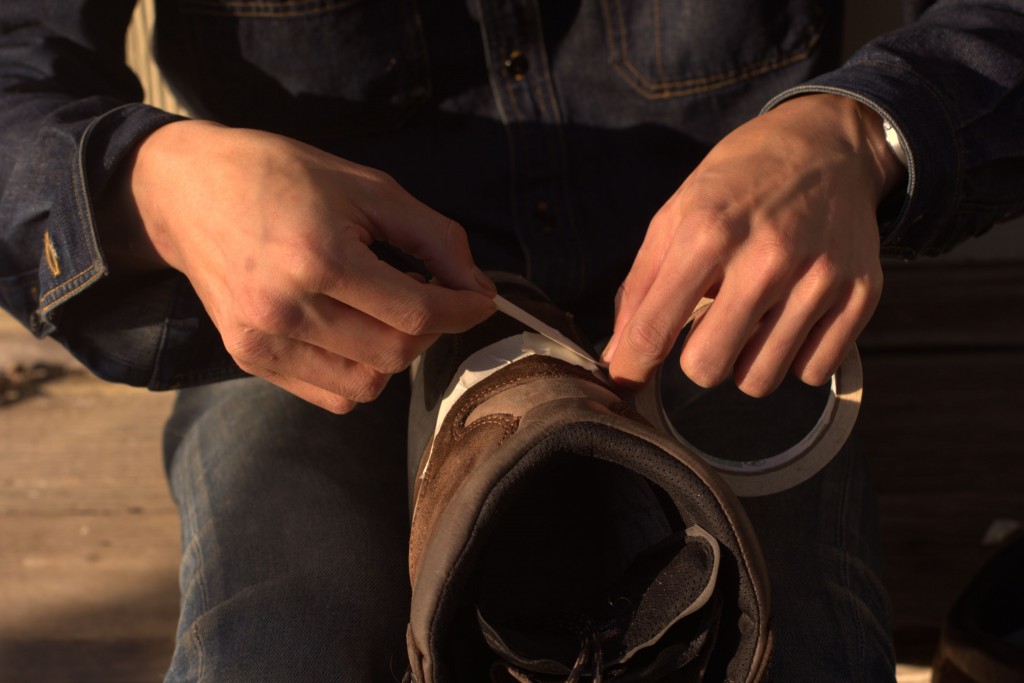
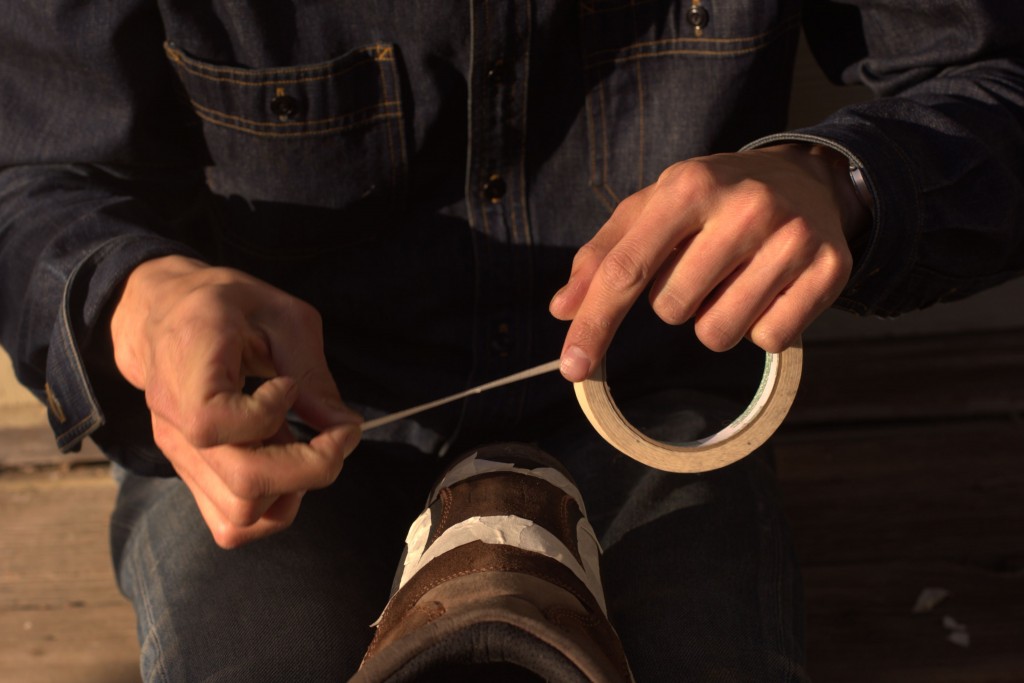
A standard Woodman’s Pal has a fairly broad blade angle, more like an ax then a machete.To make this tool more versatile I had a local knifesmith add a steeper blade bevel onto the Woodman’s Pal similar to a scandi grind bushcraft knife.
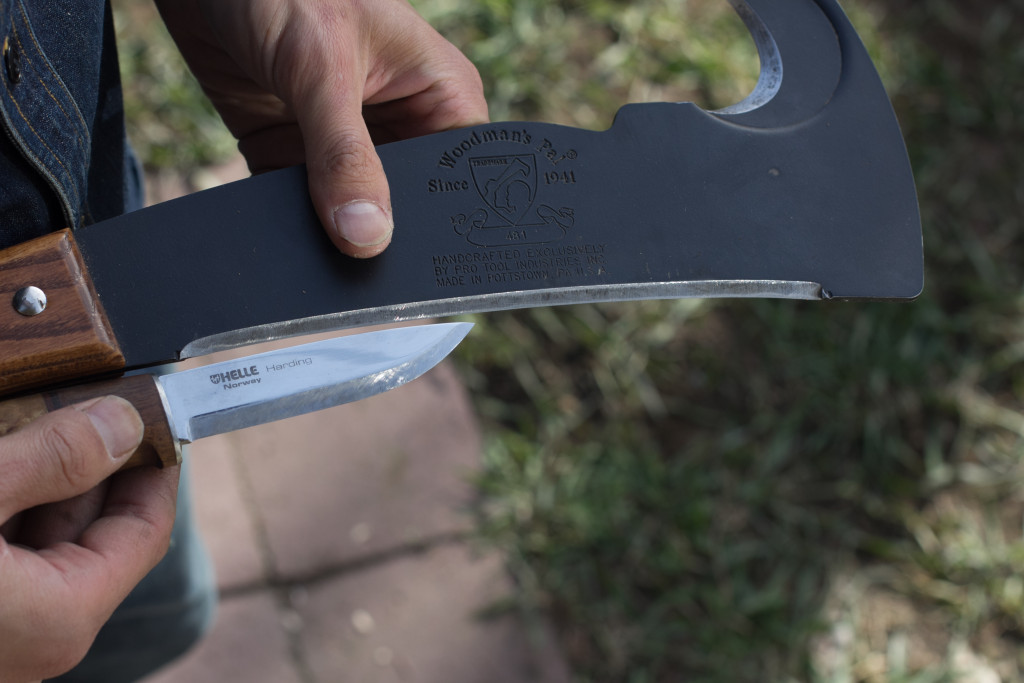
This would allow the front of the tool to be used for heavy chopping in the lower part of the edge to be used for fine cutting.
Pros
When it came to fine tasks such as sharpening fishing spear points, sharpening thorns as tools, carving, food processing and splitting nuts the Woodman’s Pal was a bit awkward in the hand because of its very front-heavy design and blocky un-ergonomic wood handle. Even so, it still performed the task it needed to. I’d give it a satisfactory rating for fine work.
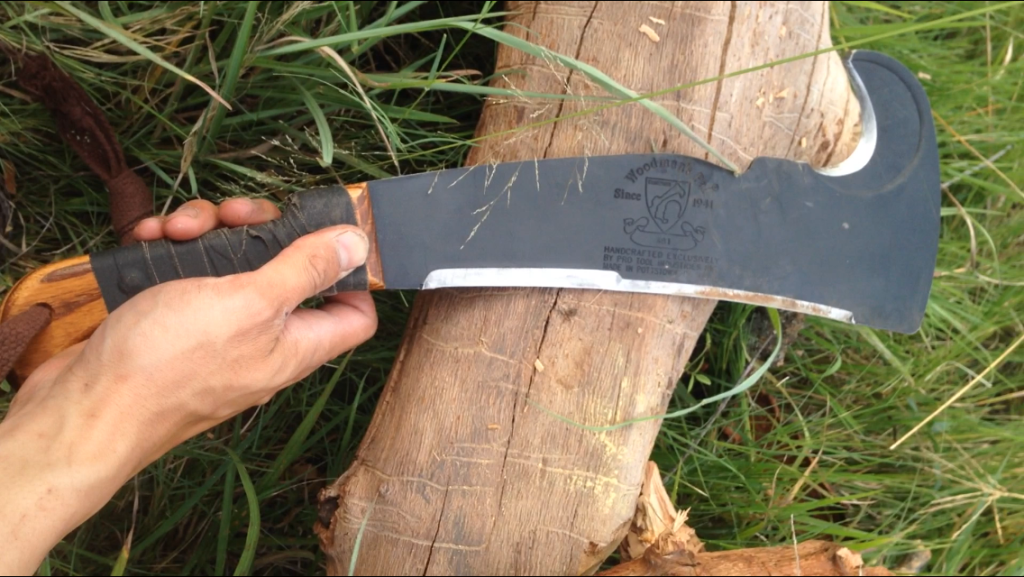
The bill hook of the WP is one of it’s best features. It allowed Holly, Amber and I to easily collect large amounts of grass to build our nest, which completely protected us from mosquitoes at very little cost of energy. The hook is also excellent for reaching to grab things like high vines and dragging logs back into the fire.
The big flat spoon nose of the WP works well as a shovel, as advertised,, and does so without sacrificing the sharpness of the main edge. It was invaluable for digging foot-deep holes to cache my food supplies from the marauding vervet monkeys.
I felt the 1/8th inch thick blade was a good mid-range weight when it came to working with hardwoods and clearing grass and brush. I would rate the tool as fair for chopping the incredibly hard woods of Namibia.
Cons
Cons
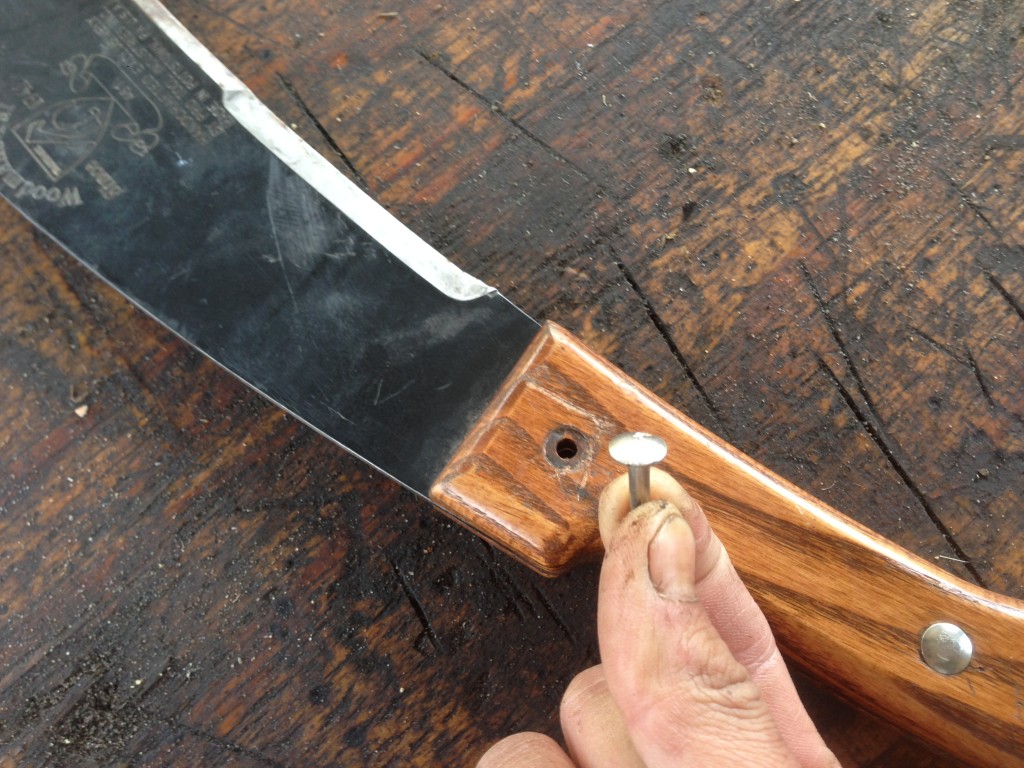
Issues began to arise with my Woodman’s Pal when it was repeatedly submerged and dried in the marshes and rivers of Namibia. The wetted wood handle would expand and then contract when drying causing the upper rivet to loosen. Often halfway through chopping through a small tree I would have to pull out a baton and hammer the rivet back in before continuing work.
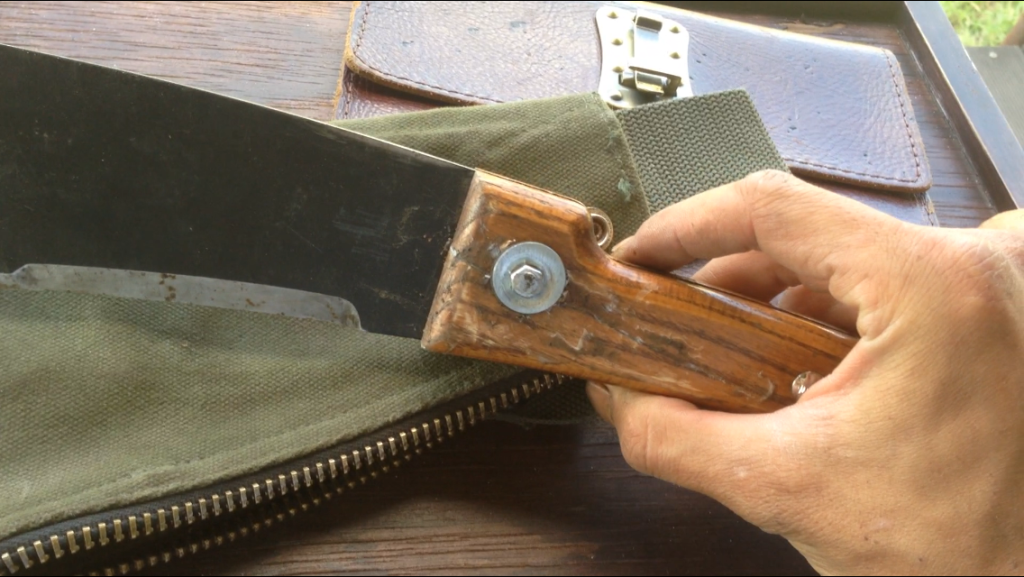
Upon finishing the 24 days of Naked and Afraid I went to a nearby workshop and added a nut and bolt to replace the defective rivet. This field repair would have to hold for the next 21 days of bushcrafting and learning from the Namibian Bushmen.
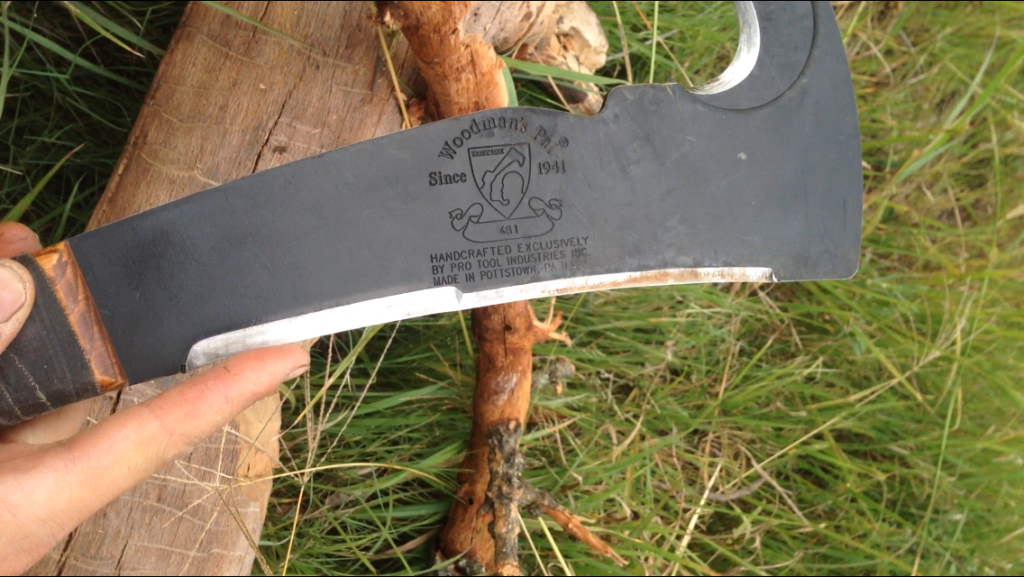
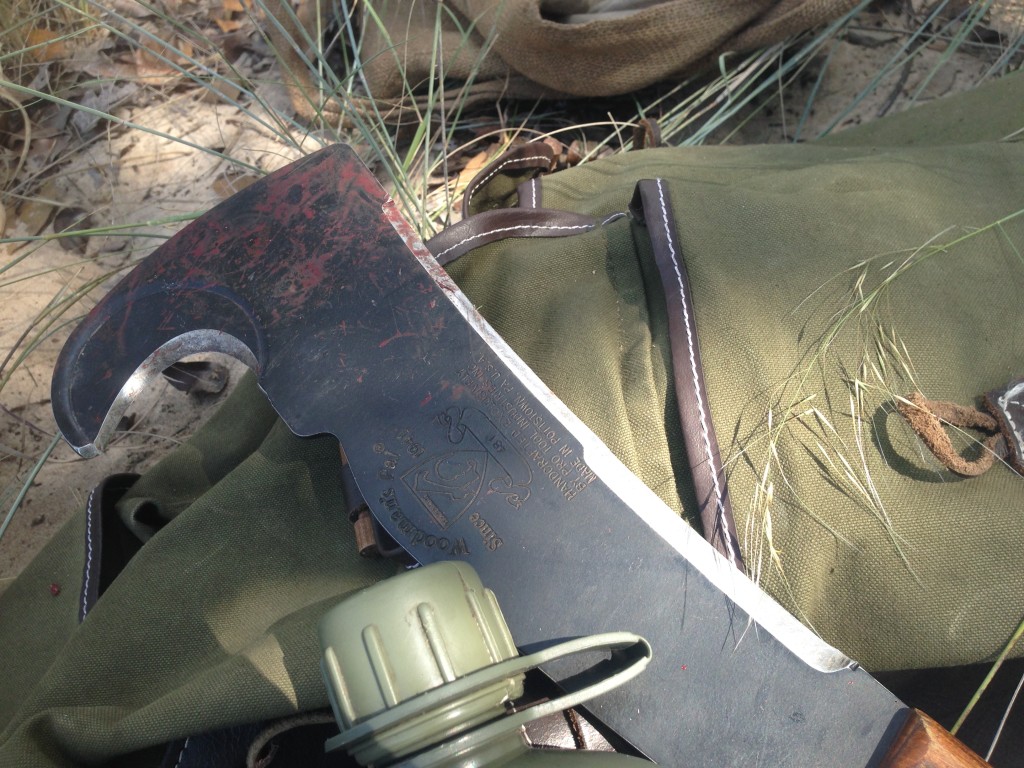
Another issue with the Woodman’s Pal was the “safety toe.” This is the inch of surface at the top of the tool that has no edge. Pro Tool says this is a “feature” to prevent deflective injuries; however, in my opinion, this is a design flaw and a hindrance for use in the field.
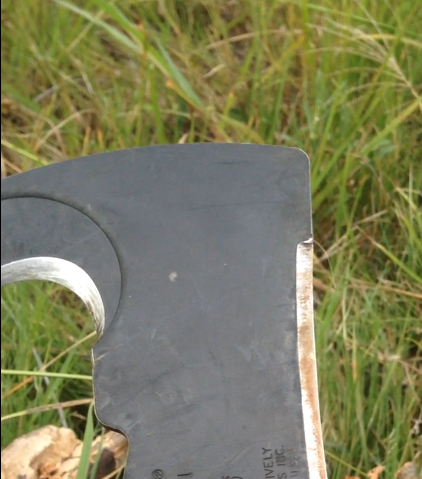
When chopping things at ground level the safety toe often bounces instead of cutting or chopping. This is a waste of precious calories and water requiring me to change the angle of my swing and actually get on my knees to perform the task. It is really counter intuitive.
My partner on Naked and Afraid, Amber, upon first seeing The Woodman’s Pal, noted that this tool could not be used to gut a fish (it does work, just not in a conventional way – the fish belly must be sliced open at an angle), pointing out its safety toe and lack of a defined point. She too found out that this tool is not very well suited for chopping brush at ground level.
Another issue is that without a point like a knife or kukri it is hard to bore into things when needing to create a hole or divot. It is also difficult to cross hatch and scratch on wood when needing to burn in a hand drill.
My partner on Naked and Afraid, Amber upon first seeing The Woodman’s Pal noted that this tool could not be used to gut a fish(it does work , just not in a conventional way, the fish belly is sliced open at an angle), pointing out its safety toe and lack of a defined point. She too found out that this tool is not very well suited for chopping brush from the ground up.
Another issue is with no point like a knife or kukri it is hard to bore into things when needing to create a hole or divot. It is also difficult to cross hatch and scratch on wood when needing to burn in a hand drill.
With the San People
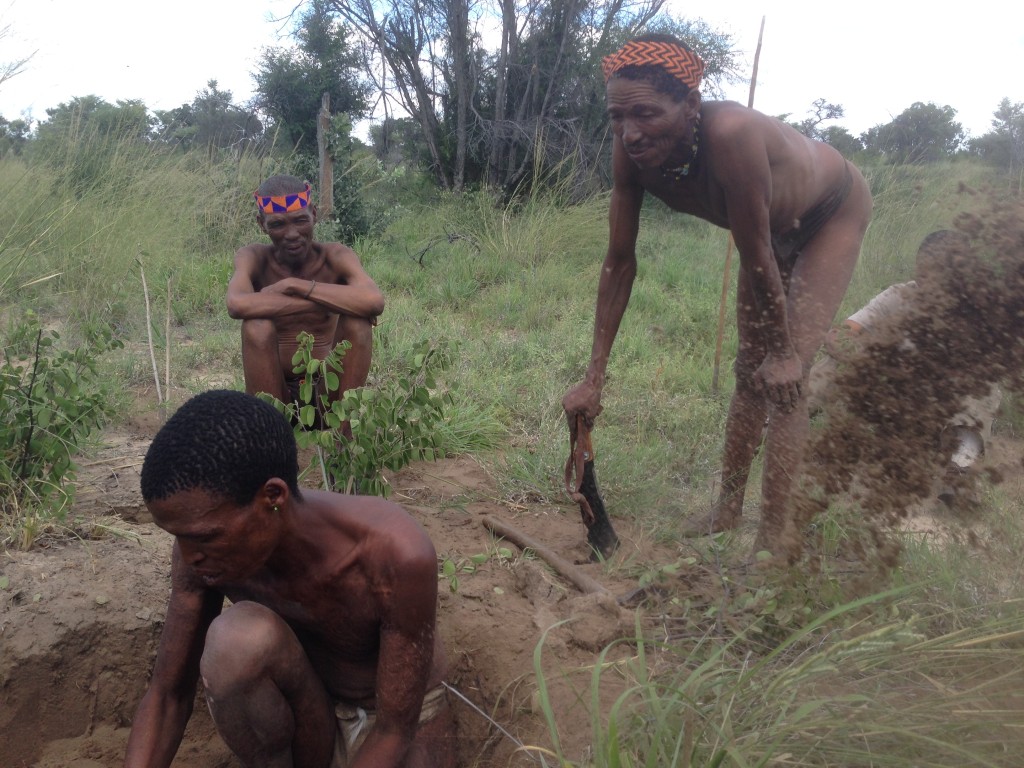
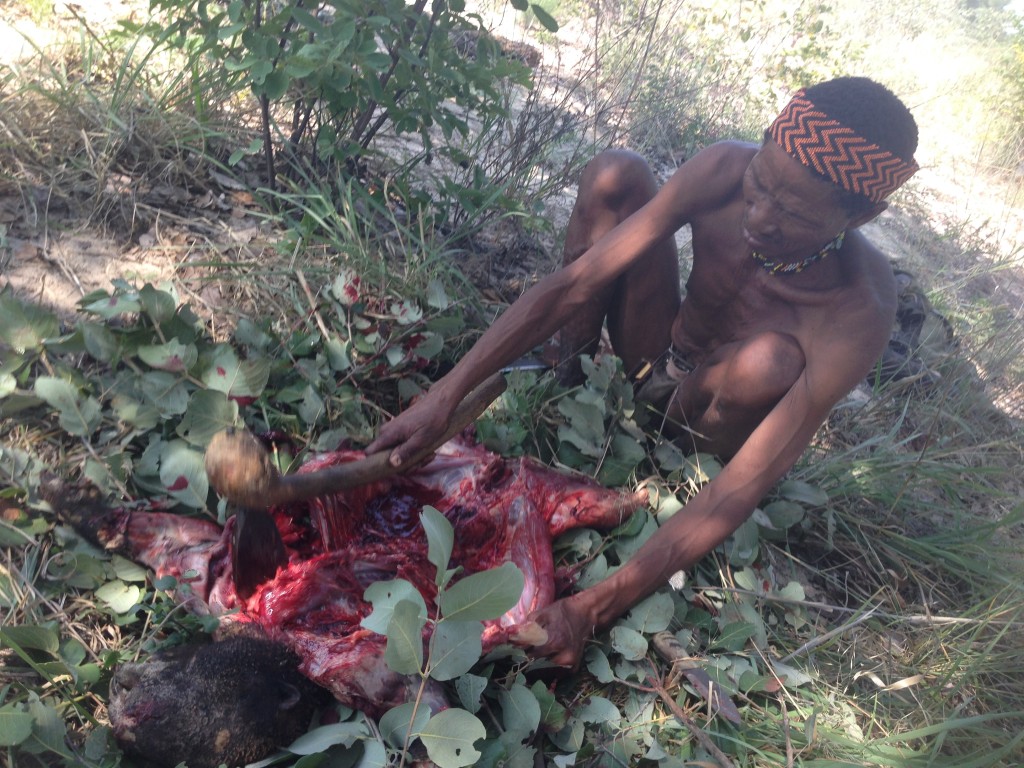
Later on, when processing game meat with the Bushmen, the Bushmen found that the safety toe prevented the parting out of game in the manner they are accustomed too. The chief !Kung, tried to use the Woodman’s Pal to chop the rack of ribs out of a porcupine but soon found the tool was unsuited and switched back to his trusty axe.
As you can see tons of gore splattered but no meat could be cut with the safety toe.
Here is the right tool for the job- Another review coming soon.
Conclusion
After an incredibly demanding 6 week field test of the Woodman’s Pal on Naked and Afraid and with the Bushmen of Namibia, I give the WP pluses for the good steel, a good hook, and an adequate multi-purpose design. However, I have to give it marks down for the safety toe.That feature is not helpful bush clearing or butchering. I give additional marks down for the faulty rivet that could have compromised my Naked and Afraid challenge.
3 out of 5
Additional
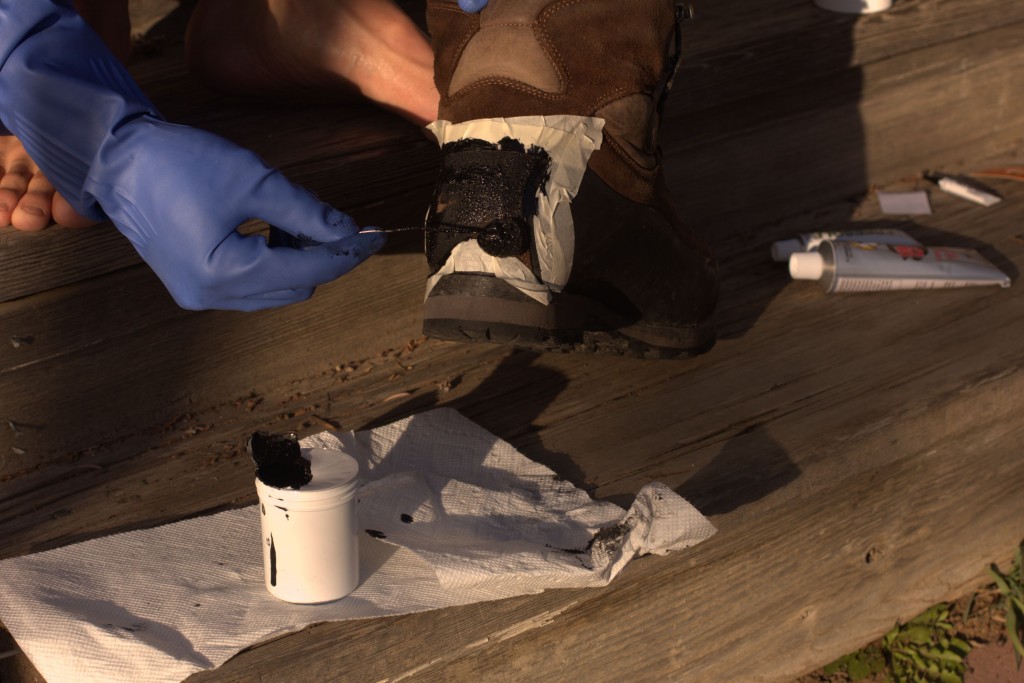
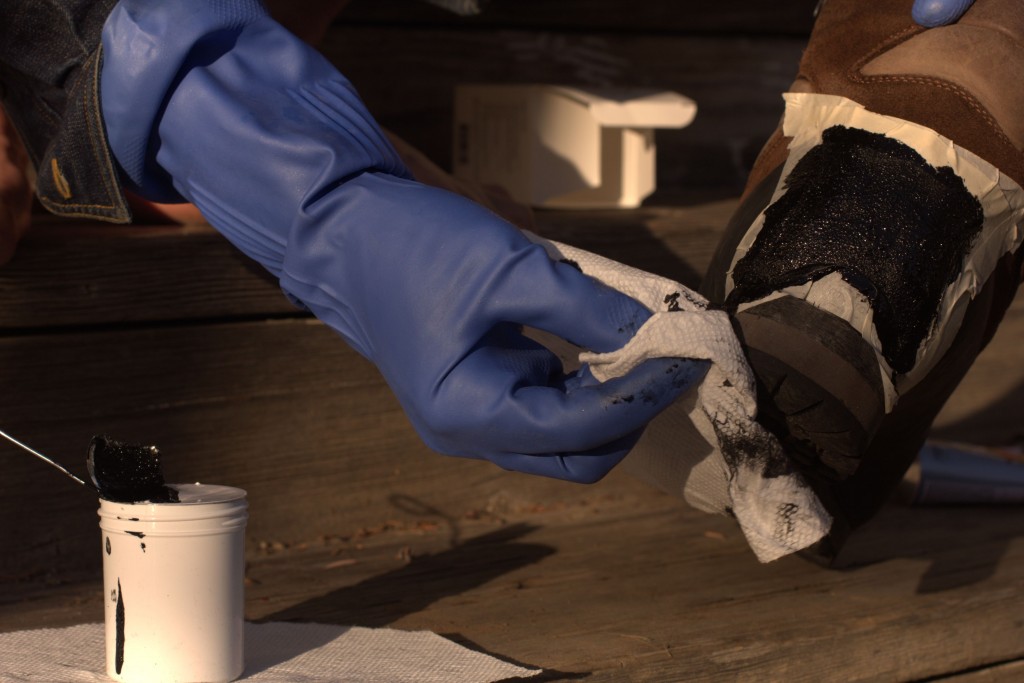
Due to rapidly changing personal circumstances I suddenly had an immediate demand for a tool ASAP, and not a lot of money or time. My Woodman’s Pal was rushed to have its handle replaced by Pro Tool Industries at no charge. It was sent to my knife maker for further modifications to alleviate the issues mentioned above.
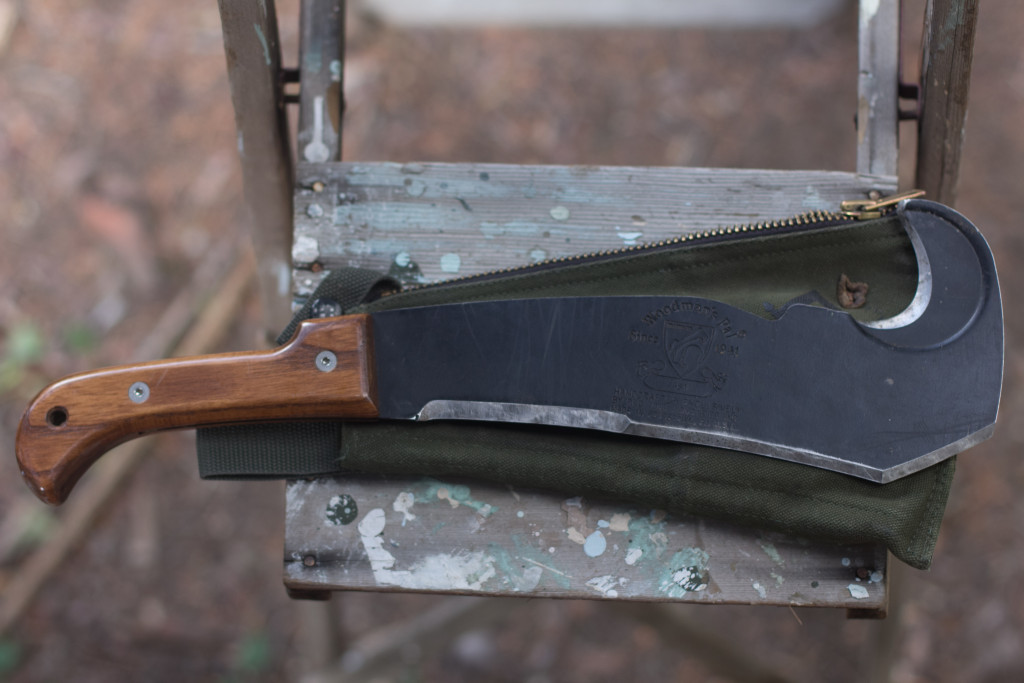 The safety toe was chopped right off at an angle and an edge was added. This simple change almost completely fixed the tool’s weaknesses when cutting near the ground. It now works much more intuitively like a conventional machete or hatchet. I call this my “XL” mod until a better name comes up.
-Don Nguyen


